Friday, March 27, 2015

Easy distribution ray tracer

I am having my graphics class at Westminster College (not a new job-- I am teaching a course for them as an adjunct-- so go buy my apps!) turn their Whitted-style ray tracer into a distribution ray tracer.   I think how we are doing it is the easiest way possible, but I still managed to butcher the topic in lecture so I am posting this mainly for my students.   But if anybody tries it or sees something easier please weigh in.   Note these are not "perfect" distributions, but neither is uniform or phong really :)

Suppose we have a basic ray tracer where we send a shadow and reflection ray.
The basic code (where rgb colors geometric vectors are vec3) will look like:
vec3 rayColor(ray r, int depth) {
    vec3 color(0)
    if (depth > maxDepth) return color
    if (hitsScene(r)) {  // somehow this passes back state like hitpoint p
         if (Rs > 0) { // Rs is rgb specular reflectance
                ray s(p, reflect(r, N))
                color += rayColor(s, depth+1)
         }
         if (Rd > 0) { //Rd is rgb diffuse reflectance
                 ray shadow(p, L)   // L is the direction to the one light
                 if (not hitsScene(shadow)) {
                       color += Rd*lightColor*max(0, dot(N,L) )
                 }
          }
      }
      else 
             color = background(r)
      return color
}
               
           
The three spheres we add to get fuzzy effect.
Now let's assume we want to fuzz things up to get soft shadows and glossy reflections, and that we want diffuse rays for bounce lighting (even one level of depth would help).   We just need to pick random points in three sphere, one for each effect.   Let's assume we have a function rs() that returns a random point in a unit sphere centered at the origin (see last blog post).   All we need to do is randomly perturb each shadow and specular reflection ray, and we can generate another diffuse ray that will get bounce light.  This is:

vec3 rayColor(ray r, int depth) {
    vec3 color(0)
    if (depth > maxDepth) return color
    if (hitsScene(r)) {  // somehow this passes back state like hitpoint p
         if (Rs > 0) { // Rs is rgb specular reflectance
                // radius_specular is a material parameter where 0 = perfect
                ray s(p, reflect(r, N)+ radius_specular*rs())
                color += rayColor(s, depth+1)
         }
         if (Rd > 0) { //Rd is rgb diffuse reflectance 
                ray shadow(p, L + radius_shadow*rs())   // L is the direction to the one light
                if (not hitsScene(shadow)) {
                       color += Rd*lightColor*max(0, dot(N,L) )
                }
                ray diffuse(p, N + rs()) // assumes N is unit length
                color += Rd*rayColor(diffuse, depth+1)
          }
      }
      else 
             color = background(r)
      return color
}

Easy random point in sphere

Often you need a uniform random point in a sphere.   There are good methods for doing that that have deterministic runtime and good stratification and all that, but usually you just want something easy that works, and rejection sampling is usually the way to go.    Usually you take a larger domain than the target one and repeatedly "throw darts" until one hits the target.
First let's do this in 2D with a circle at center c = (xc, yc) and radius R.  Now let's assume we have a random number generator r() that returns floats in [0,1) (like drand48() in most C environments or Math.random() in Java).


do {  // pick random point insquare until it is inside the circle
      x = xc - R + 2*R*r()
      y = yc - R + 2*R*r()
} while (sqr(x - xc) + sqr(y - yc) > sqr(R))

For 3D, the extension is just the dimension add:


do {  // pick random point in cube until it is inside the sphere
      x = xc - R + 2*R*r()
      y = yc - R + 2*R*r()
      z = zc - R + 2*R*r()
} while (sqr(x - xc) + sqr(y - yc) + sqr(z- zc) > sqr(R))


Friday, March 20, 2015

Twenty iOS Photo App Extensions

Apple recently added photo app extensions to iOS, and we have added this feature to all our -Pic apps.   The thing that excites me the most about this is you can easily use a series of apps grabbing their best feature for a fluid editing pipeline.  To experiment with these emerging pipelines I have grabbed all the photo apps supporting extensions I can find.  Some of them don't work for me and I don't list those here (and stability of app extensions are improving so I will add them as they or Apple fix the issues).  I list them here, most of them with my test on a feature from each of them along with one of our apps. 

Afterlight is a popular general purpose app.  One of its most unique features is a big set of light leak effects.  Here it is being used with PicJr (a kids app with some over-the-top photo transforms) to make a very damaged old photo.
Left to right: original image, faded and distorted by PicJr, light leak using Afterlight.

Camera Plus is a powerful general purpose apps and I especially like their frames and lab features.
Using a frame, noise, crop/blur from Camera Plus

ChowPic, by my company Purity, LLC, improves food photos.

Before and after ChowPic

 Effects Studio has several neat specialized features and I am especially fond of its sharpen feature in conjunction with our StencilPic app.
Original image, sharpened with Effects Studio, and stenciled with StencilPic

Etchings is an NPR app that does engraving like effects mostly in bitone but some with color.  I am very impressed with their stoke generation!  I've enjoyed using it in series with our own StencilPic.
Original image,  after processing by Etchings app, and further processed by StencilPic


Filters+ has some unusual manipulations I don't see in any other apps such as "make a greyscale image from the max RGB component".  I have found these useful to get some good stencils from images that are otherwise problematic such as the one below where popping out the max component helps separate out the more saturated foreground.  Another cool thing about Filters+ is that it only runs as an app extension-- the app just opens a user guide.

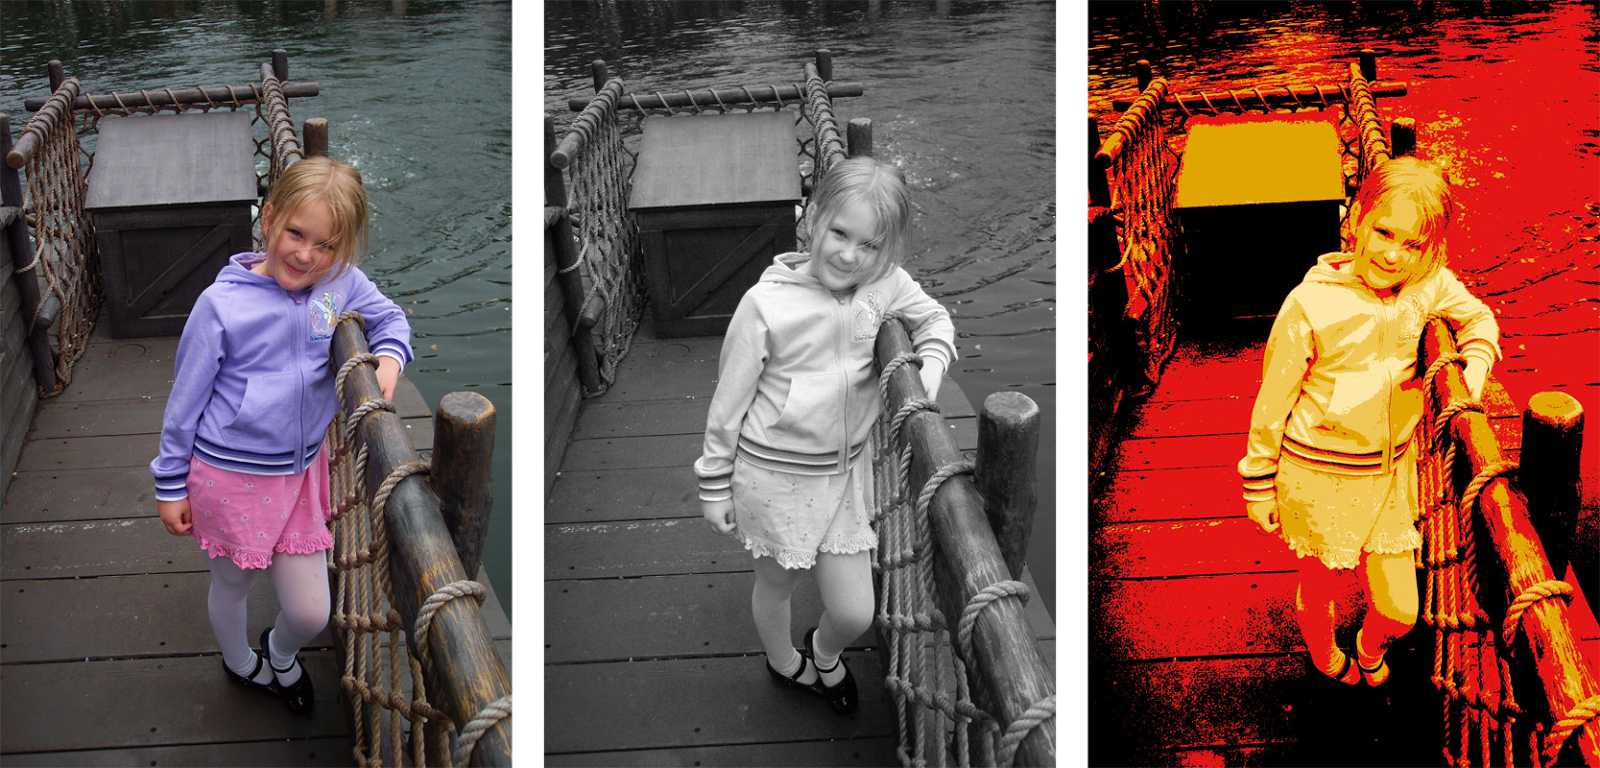
Original image processed to get max RGB component in Filters+ and then sent to StencilPic

Flare Effects has many vintage and real camera filters.   I like to use the old CCTV to get scanlines and then stencil them for some cool aliasing color effects.
Original image, Flare Effects Old CCTV filter, and then StencilPic


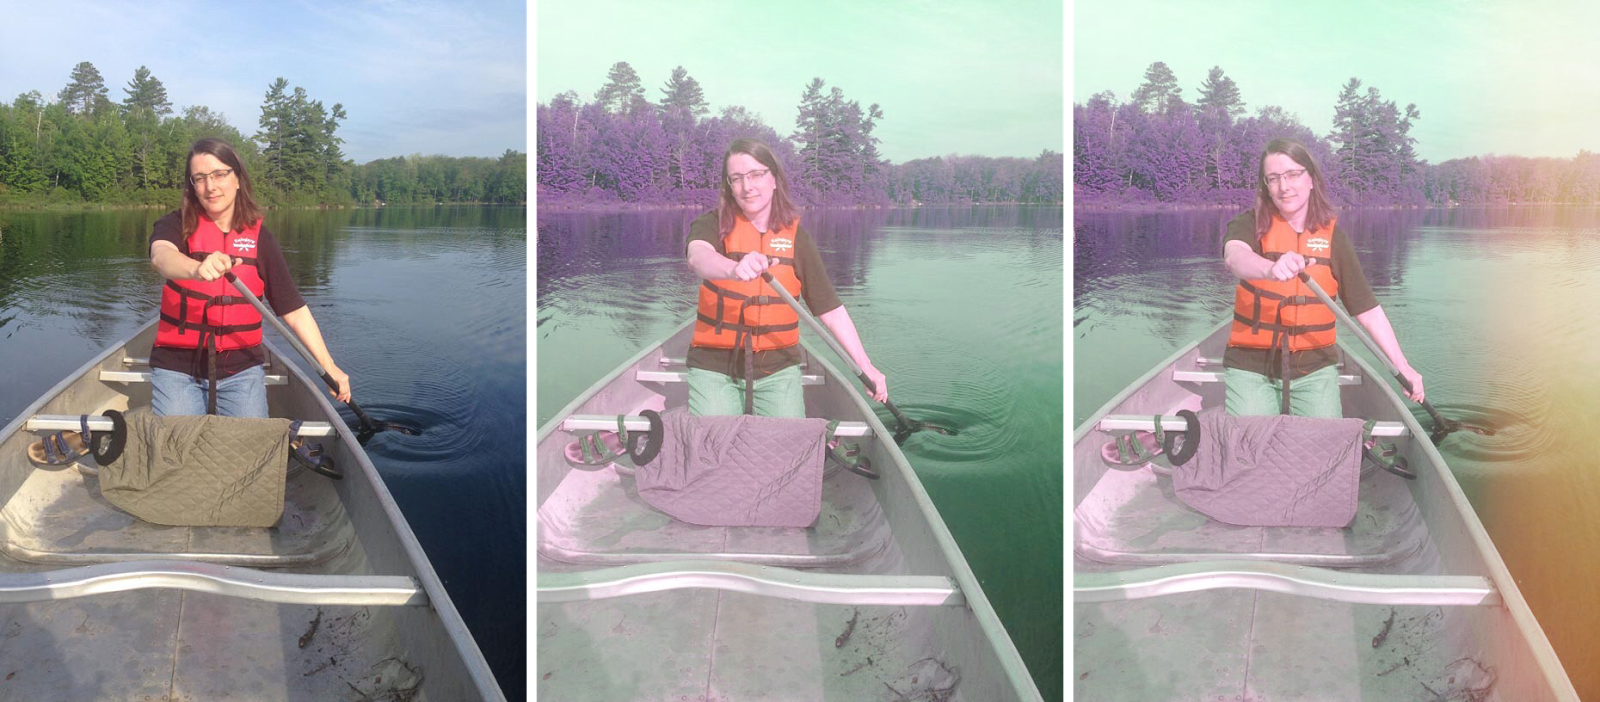
Fotograph has a number of thumbnail and slider-based adjustments.  My favorite is their color temperature and saturation sliders which are very stable into even extreme territory.

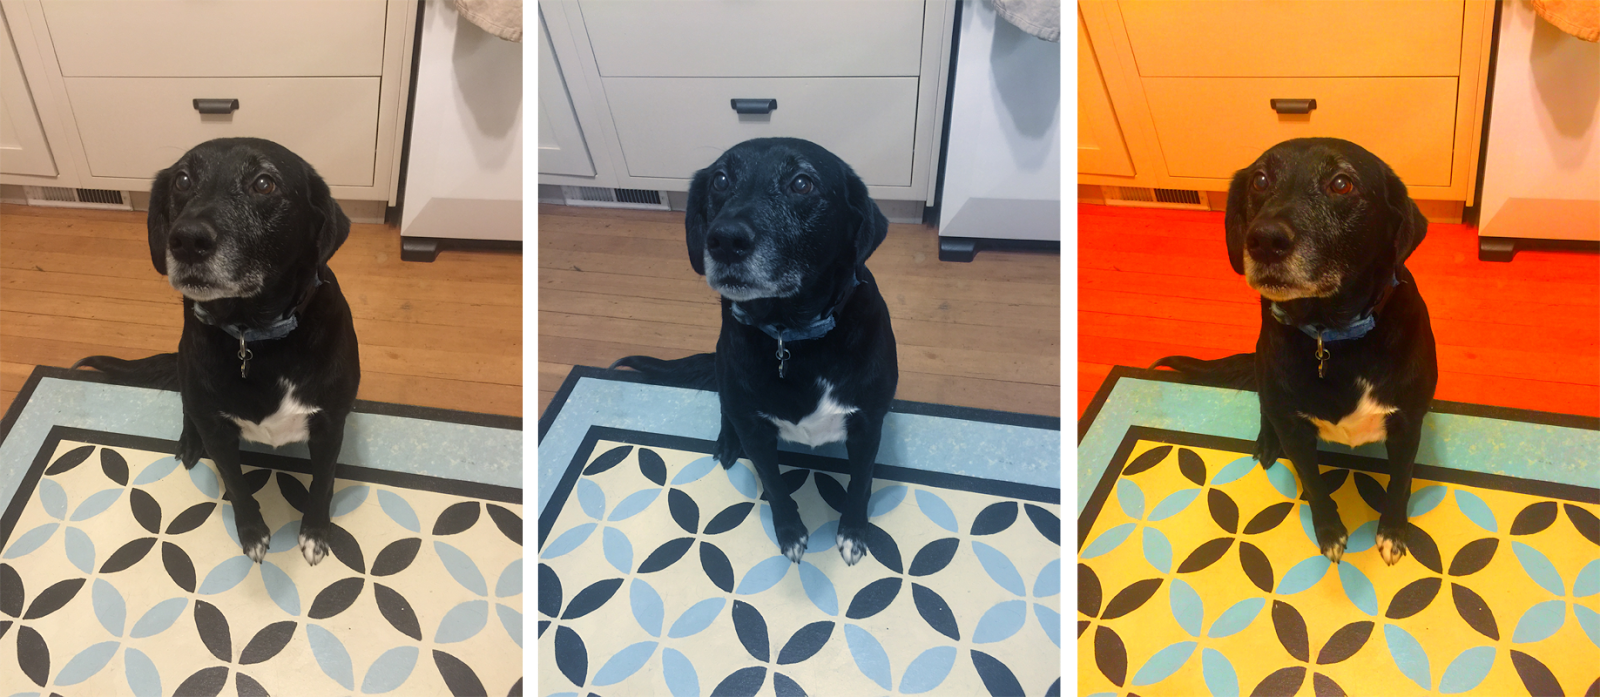
Original photo, cool temperature, and large saturation in Fotograph app

Fragment has many kaleidascope inspired effects.  Of course I like to stencil them.
Original image, run through Fragment, and then run through StencilPic

LandscapePic is our own app that like all of those here also runs as an app extension.  It can ignore preserving skintones so it can let you turn everything to 11 (but you don't have to).
Original image and two selections from LandscpePic
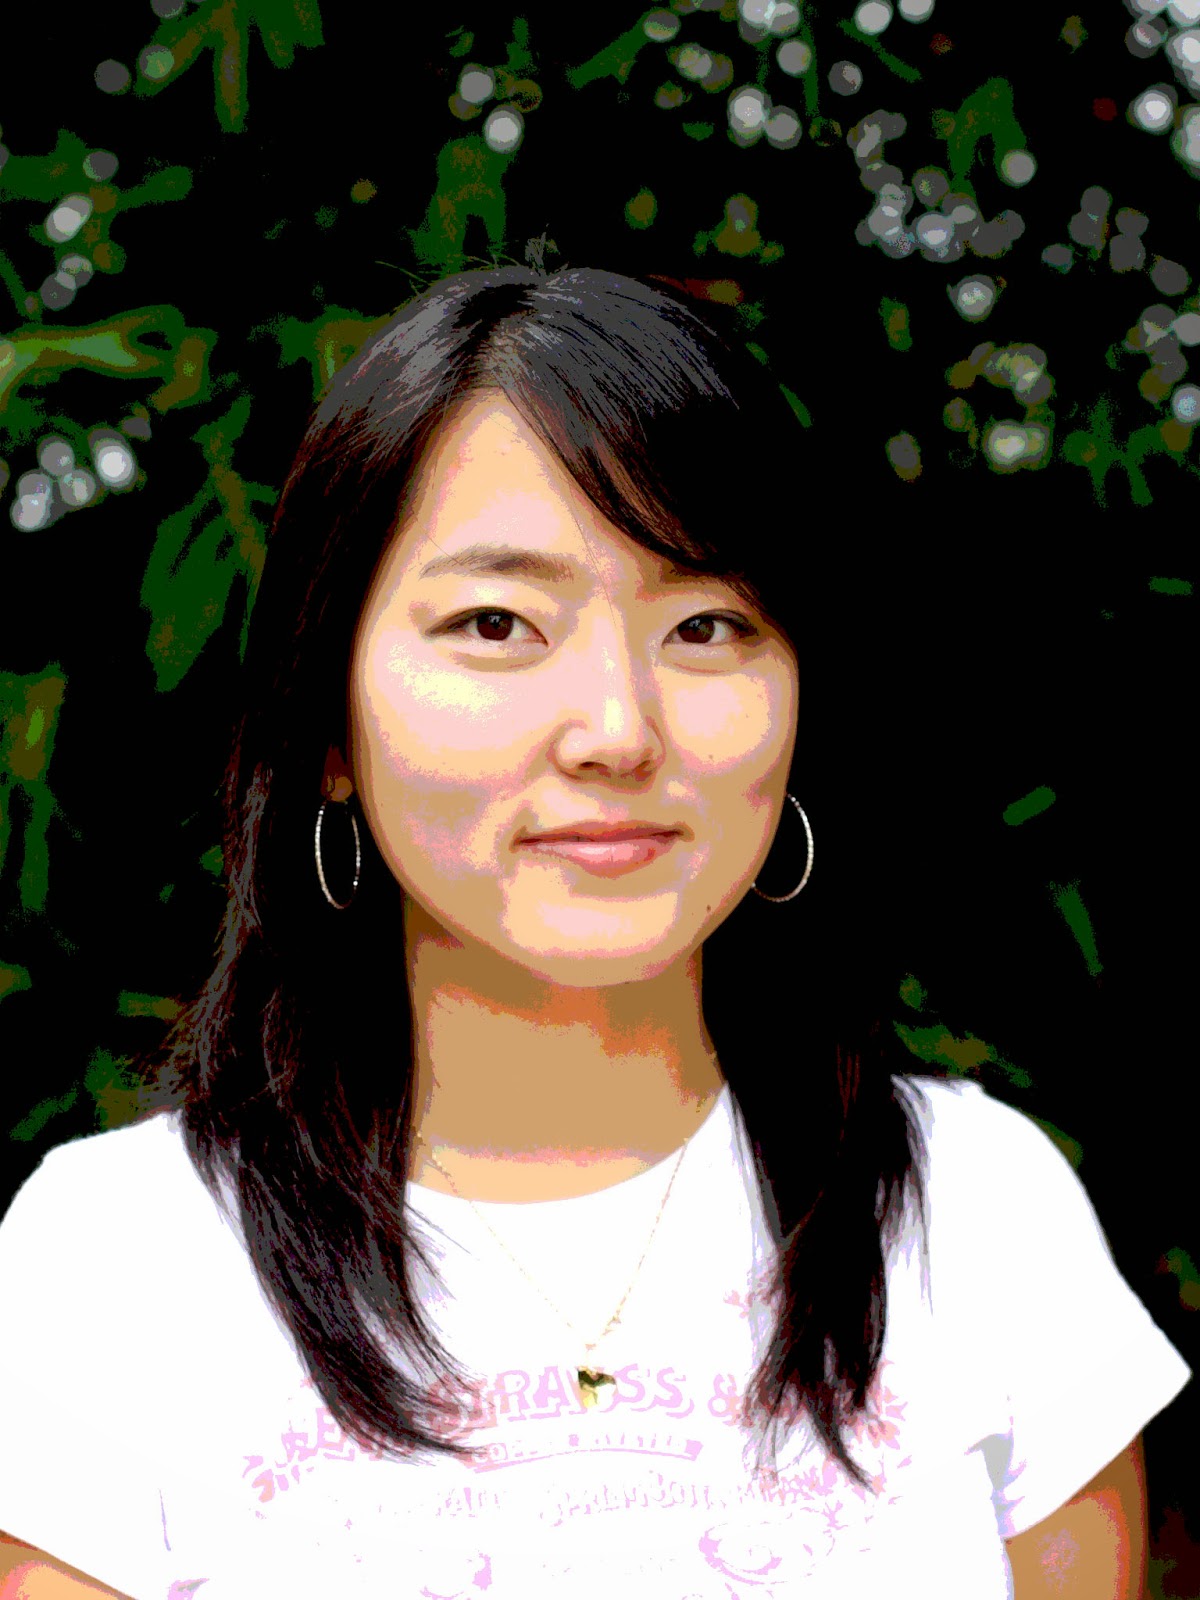
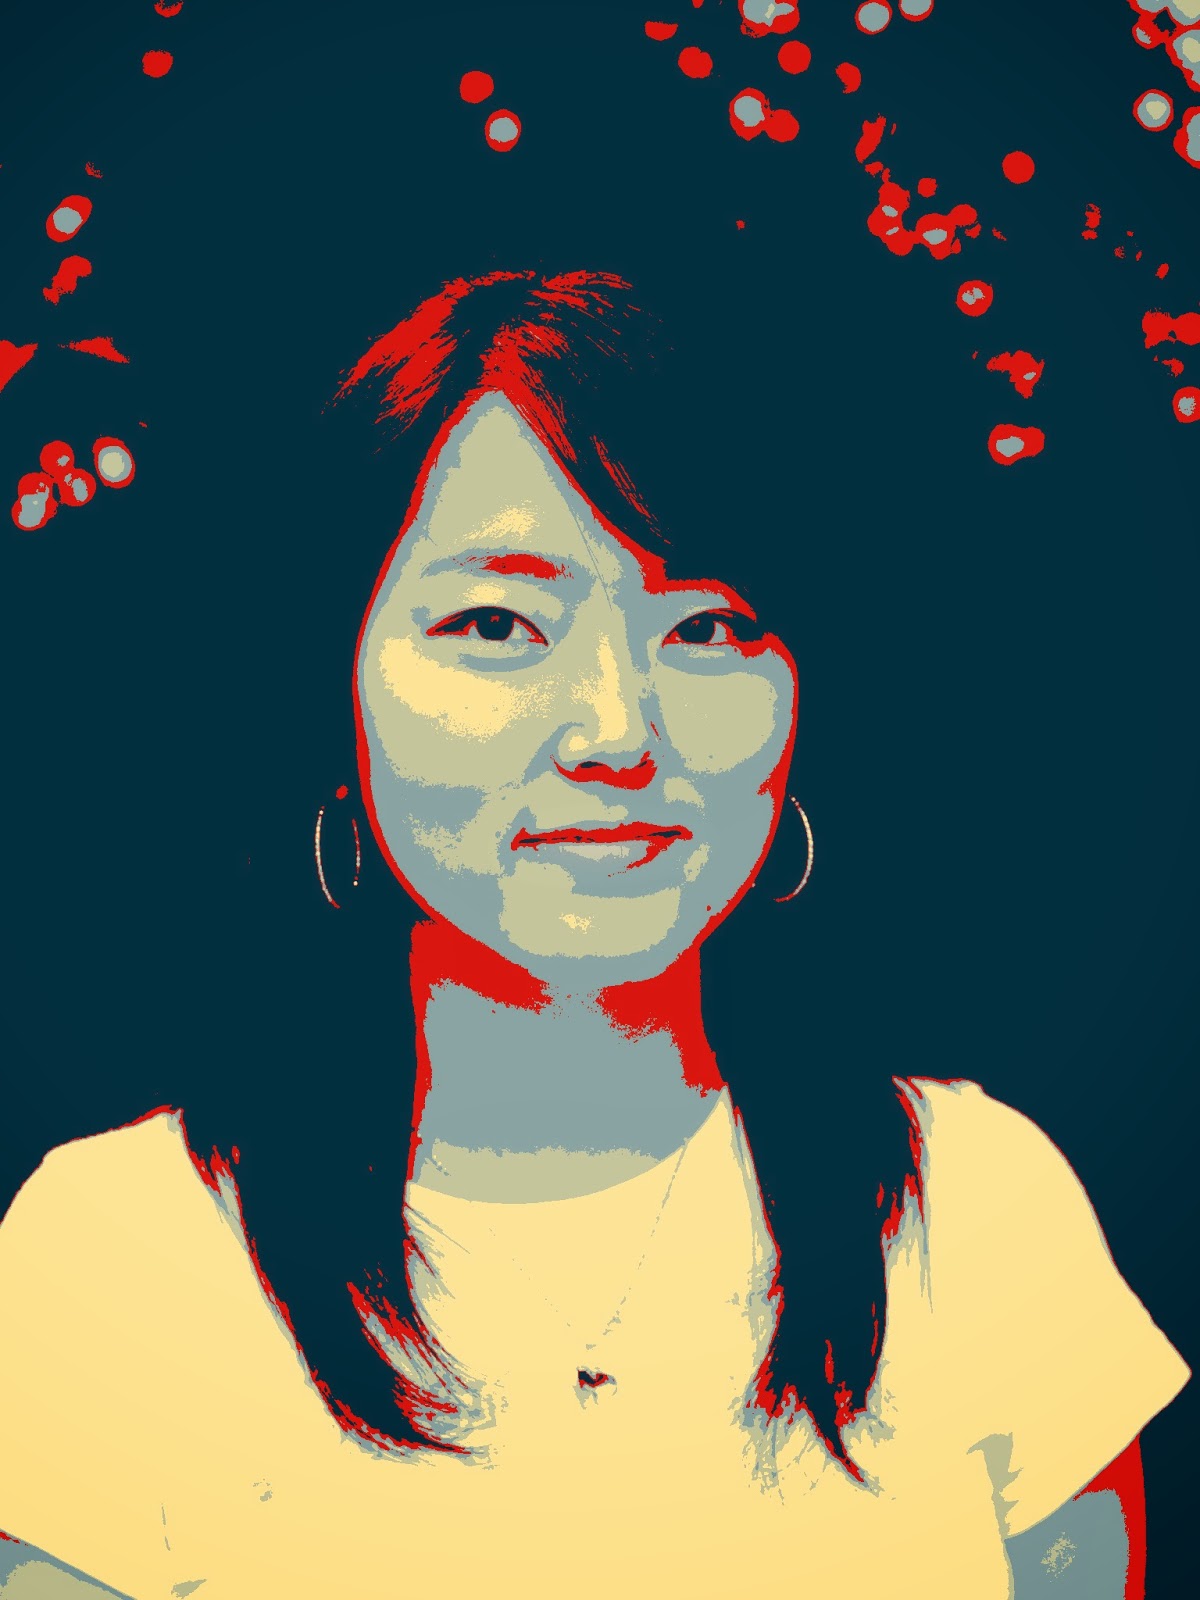
MePic is designed to change skintone and contrast in selfies.
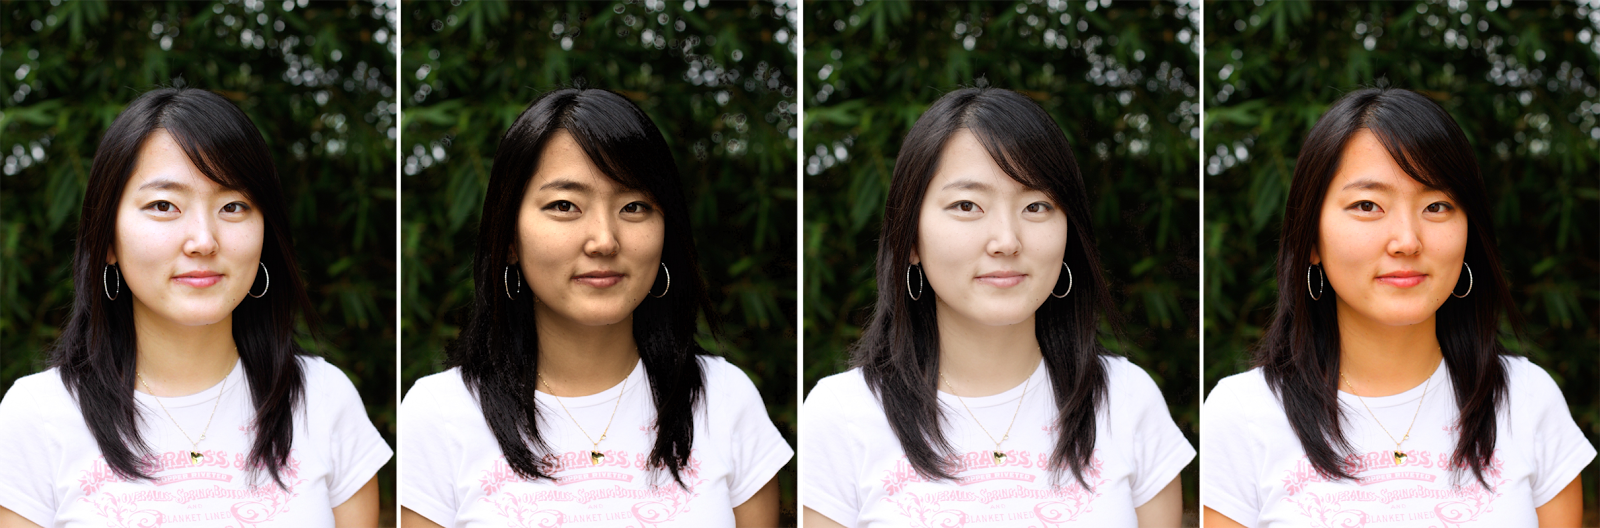
Original and three variations in MePic.  Original photo courtesy Parker Knight at flickr.

Paper Camera is an NPR app with a clever interface of three sliders and a set of preset positions for them.  It's of course good for a stencil pre-process too.
Paper Camera stylization followed by StencilPic.  Original courtesy Parker Knight at flickr


 Photo Wizard has a variety of filters and effects and also has stickers and drawing functionality.
Photo Wizard is used to add a sticker and then SepiaPic is used.

ProCam is a full-featured app with some very nice UI.  The tilt-shift has an especially nice pinch interface.
Original image, color transformed with LandscapePic , and tilt-shifted with ProCam.
Quick applies text on images with a nice simple interface.
SimplePic is used to darken background and Quick is used to add text

Rookie has many filters including some that add spatial effects such as the rain below.
Rookie is used to add rain effect and then StencilPic is applied

SepiaPic selects from four basic palettes and can combine the original image and the sepiatone.
SepiaPic

SimplePic is our general purpose simple photo editor.  You have three screens to adjust contrast, color temperature, and saturation.
Original and processed with SimplePic

TattooPic is tailored to making tattoos look better.  This is the sort of special purpose app that runs as an extension we expect to get more common.
Before and after TattooPic
That is all the photo apps with extensions (that don't crash) that I could find.  Let me know if I am missing any!

Sunday, March 15, 2015

Fantastic WebGL demo by Evan Wallace

Props on this neat demo of both programming and how nicely WebGL can work.

Friday, March 13, 2015

Contrast, color temperature, and saturation

We've released several iPhone photo apps with what I tell nerds is a divide and conquer among 64 choices interface.  (go buy them and rate them please!).   The main one is SimplePic which has changed completely since we first released it.  Our big question all along was "what dimensions of an image are most fundamental".  We have arrived at an answer that will surprise nobody, but the ordering has a nuance.

What the app does is give you four choices and you pick the one you like.  Our premise is that humans are terrible at looking at thumbnails of images, but very good at looking at a few images and picking their favorite.    We chose four because a perfect square lays out well, and nine is in our opinion too many (and they get too small) Here is the first screen.
First screen of SimplePic   Contrast


You graphics types can probably tell the first screen is messing with contrast (upper left screen is original image).

Second Screen of SimplePic  Color Temperature


The second screen messes with color temperature (two warmer and one cooler).
Third screen of SimplePic.  Saturation.


The final screen messes with saturation (one up too down).

All of you technical types can see that we are really just providing 64 choices in a 3-step process.  We could really provide any set of 64 choices as we don't expect the user to see structure here (that is the whole point of the interface-- naive users still have strong visual opinions).  However, having one intuitive dimension for each screen in our opinion makes the task more intuitive.   WHAT dimenions to use didn't seem that hard-- some variation on hue/saturation/value and we came up with what is above.  More interesting was how to vary those dimensions and what order to present the variations.  I, and almost everybody I know, first messes with gamma/contrast/luminance when they hand edit an image.  Then they fix the white point.  Then maybe they mess with the saturation.  This is what we tried.    Other orders empirically have not worked as well.  Another issue is **how** to vary those parameters.  We spent a ton of time on that, and the most industrious can reverse engineer what we did.

If you try the app, let us know when it fails to produce a better image!  Also note that these all run as photo app extensions.  I am a huge fan of the extension concept-- give it a try!

Wednesday, March 11, 2015

Preconditioning for stencilized photos

We just released a new iPhone app that quantises photos (StencilPic-- buy it :)).   There is a postscript on this post about terminology, but the subject is preconditioning.  Suppose we do a two-color stencil of the following image:

Source image
When we run a two-color stencil on this using the luminance channel, there are good results for some image, but this image is a bit problematic. 

Two color stencilization from StencilPic app
If we sharpen the image, which enhances edges in the luminance channel we get this:
After sharpen filter in Effects Studio App
And the resulting stencil:

Two color stencilization of Effects Studio app sharpened image from StencilPic app
I think that such "preconditioning" for stencils is a promising research topic for a nice little research paper.  I will not pursue that, so please pursue it, publish it, and tell me what you learn!


PS-- an note on terminology.

We originally called our app "PosterPic" and said it did "posterization".  However, many people thought that mean what graphics people would probably call "quantized color table", which we think is now the dominant terminology because that is a named Photoshop effect:
Source image (courtesy Parker Night at flickr)

Photoshop "posterization"


Output from StencilPic

However, what our app does is something more like the the famous Fairey Obama poster which a graphics person would call "quantized pseudo-color display" (note Fairey also did the Andre the Giant poster that went viral in graphics thanks to Brown students).   That doesn't have a ring to it, so we went with the term "stencil".  This is often black and white, but it's whatever spray paint you want.  The google image search of "stencil portrait" is what convinced us this was good terminology:

Another postscript based on the interesting comment.  Here is Adelson's shadow with and without sharpening on source image.  I just use a screen shot of the last screen in the app so you can see different thresholds. 


Tuesday, March 10, 2015

More on the blue dress

I have been following with interest discussion of the blue dress among the psych folks.    Laura Truroiu told me early on that people's disparate reactions means it is ambiguous like the necker cube:

The necker cube.  Which of the two middle corners are closer?
 Unlike the necker cube, most people can't switch back in forth easily but instead have a strong perception of the dress.  Laura said this implies people have different "priors" be they innate for that individual or environmental.  (A "prior" is our contextual or built-in assumption used to resolve ambiguity like "light comes from above", or "humans are 1-2 meters tall").  I believe she is correct, and there is a lovely long piece on this for those that want to dig in on that.

There is also a cool set of data mining from our friends at facebook (thanks to Brian Cabral for the pointer).

Saturday, March 7, 2015

Deceptive ray tracing bug

Brandon Denning in my ray tracing class showed me an image for his specular reflection assignment, and I told him it was definitely right:
But it was not!  Turned out he was using the direction of normal vector to send the "reflected" ray.  It's interesting how plausible it is (to me anyway).  Here's the right one:
There is a related bug in Kajiya's original path tracing paper that fooled him and the rest of us for years.   The worst bugs are the plausible ones!


Tuesday, March 3, 2015

The blue dress illusion

Most of the blue dress explanations are that its appearance depends on whether you think it is in the dark or in the light.  Some anecdotal evidence for this is that I see the dress as gold and white and my friend Celine Harvard told me to stare at a light  and then look at the dress and I was able to see it as blue.  But what are the subtle cues that cause different people to see different things?  I don't know.

However, I today saw a nice illustration on twitter that is making the rounds of a perception mailing list that do convince me of the mechanism if not what cues are at work:


The right hand of each dress are the same physical colors.  So the implied lighting carries the day.

Sunday, March 1, 2015

New track at EGSR

The Eurographics Symposium on Rendering has long been my favorite conference but its success over the years has been a double-edged sword as flaky/incomplete/risky papers get edged out by the polished papers. Some great papers are also polished so that is the good side of the sword. I am very happy that this year the symposium is trying a new and I think very good thing to try to get the best of the old and new conference. From the CFP: "This year brings some changes to the submission process: the introduction of a second “Experimental Ideas & Implementations” track in addition to the traditional EGSR papers track (the “CGF track”). Authors have the choice of submitting their work to either the CGF track, the experimental track, or both." Here is the call for papers.